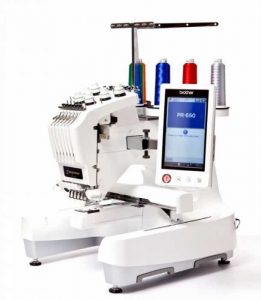
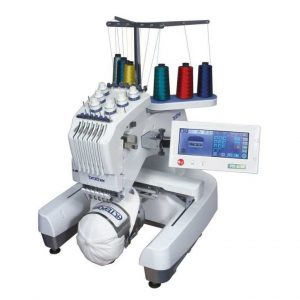
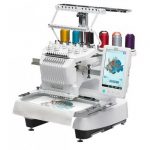
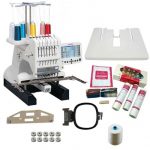
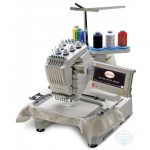
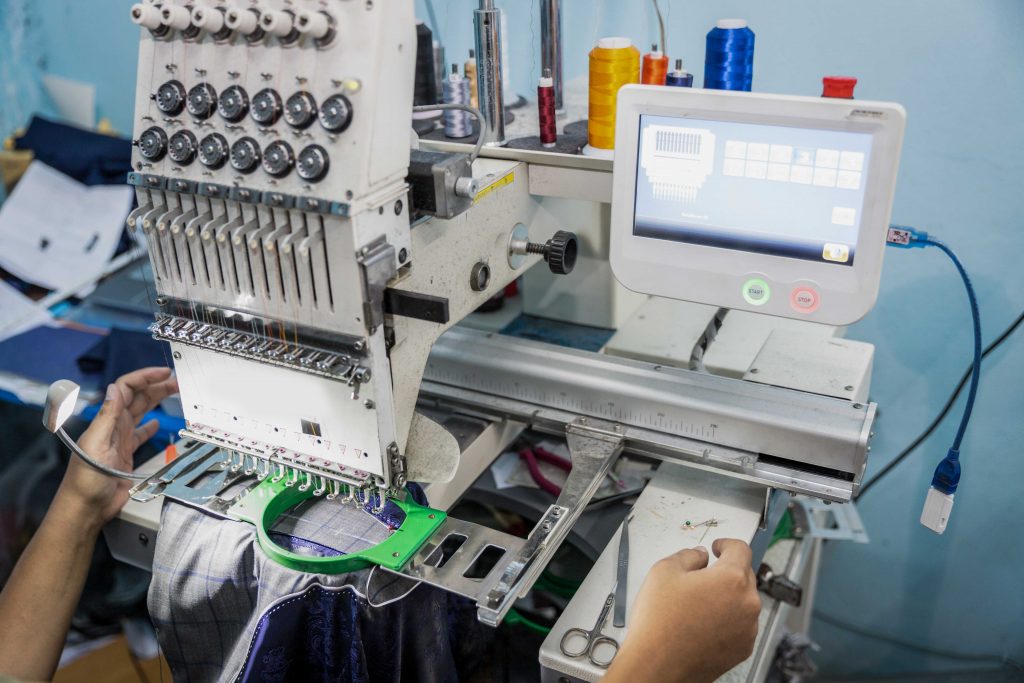
ZSK embroidery machines are a top choice for both professional embroiderers and hobbyists. They are perfect for creating beautiful designs and adding a special touch to fashion projects. Whether experienced or just starting, these machines are a great option.
Embroidery is popular again because of better machines and more people finding it relaxing and meditative.
Embroidery has become a leading means of practicing wellness and a lucrative industry. Experts project that the worldwide embroidery market will reach $5.93 billion by 2028, with a growth rate of 14.13% per year.
This means that access to the industry’s most cutting-edge machines is essential to cope with such a high growth rate.
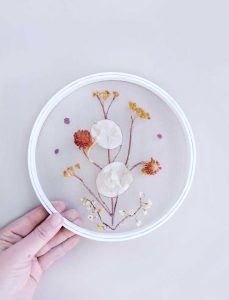
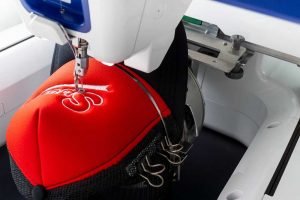
Embroidery is becoming more popular in the fashion industry. It is used on various clothing and accessories, including baseball caps, coats, t-shirts, polo shirts, denim, dresses, and blankets.
Accurate and efficient machines are essential to keep up with the growing embroidery industry. Let’s explore why ZSK embroidery machines are popular among professionals and hobbyists worldwide.
Benefits of Using ZSK Embroidery Machines

ZSK embroidery machines are popular among professionals and hobbyists for their ease of use and efficiency. They offer helpful training programs and cutting-edge technology.
Discover the advantages of ZSK embroidery machines and why top embroiderers prefer this technology.
Packed with German Efficiency
German manufacturers are known for being efficient. All ZSK machines undergo thorough quality checks to ensure they are ready for any challenge.
All embroiderers can trust their machines to meet their needs, regardless of skill level. The machines can handle complex tasks without any problems.
Flexible and Adaptable
Users can also enjoy a wide range of ZSK machines. Embroiderers can use machines to create different designs for various purposes. This is possible because many options are available in different shapes and sizes.
Whether you’re seeking to add client logos to materials for branding or create beautiful embroidered artwork, a ZSK machine suits your needs.
Resilient and Reliable
Your embroidery machine should be able to handle anything you throw at it, and ZSK machines are built to last.
This means your machines will continue to work well without breaking down, allowing you to keep working without problems or inefficiencies.
Good for the Environment
The beauty of embroidering is that the practice can breathe life into old clothes and help promote recycling pre-loved fabrics. With this in mind, it only makes sense for your embroidery machine to have the same eco-friendly credentials.
ZSK machines use less energy and eco-friendly materials. This gives embroiderers peace of mind. They know that their work has a smaller carbon footprint.
Enjoying your embroidery work without any issues affecting your focus and performance is essential. ZSK machines provide top-notch quality for making attractive designs without encountering typical problems.
Expert Tips for Choosing and Using ZSK Embroidery Machines

The best way to understand which ZSK embroidery machine to choose is to consider your needs and long-term goals.
ZSK excels at catering to hobbyists and professionals running large-scale businesses alike. Invest in a machine now to ensure future success and high performance for a long time.
With ZSK, your operational potential is virtually limitless. You can use ZSK embroidery technology to grow your hobby or create beautiful designs for clients. The possibilities are endless, with options for single-head machines or wireless connectivity for up to 254 machines.
Let’s take the ZSK Sprint 6 Compact as an example. The machine may be small, but it has the best sewing system in the world, with advanced technology and updates guaranteed for ten years.
The Sprint 6 Compact is an excellent machine for small-scale embroiderers. It is high-performance and suitable for both hobbies and business. Additionally, it only takes up a little space.
The ZSK Racer 4 Head embroidery machine can produce four garments simultaneously. It quickly boosts production and profits for users who create embroideries for customers or sales.
The ZSK Racer series has flat, tubular, or cap modes. It’s a good choice for making patches, clothing designs, or large canvases.
Using ZSK Embroidery Machines

ZSK embroidery machines offer many online guides and tutorials to assist with setting up and creating embroidery. These resources will help you navigate the process quickly.
You can access step-by-step instructions and tips for creating beautiful designs. The guides cover everything from machine setup to selecting the suitable materials. With these resources, you can confidently create stunning embroidery projects.
ZSK is committed to providing high-quality training, support, and service to help you get the best out of your embroidery machine.
This support can come in all shapes and sizes, too. Whether you prefer learning online or through hands-on training, ZSK offers extensive support for all their machines. This will help you focus more on your projects and get the most out of them.
One significant advantage of ZSK embroidery machines is the robust online support provided through the My.ZSK Management Integration System.
With My.ZSK, you can use an online personal assistant to help with your embroidery work and online business. It offers features to assist with managing, analyzing, and optimizing your embroidery journey.
From Hobbyist to Professional: Why ZSK Machines Are a Crucial Investment

ZSK embroidery machines are known for being durable, high-tech, and reliable.
They also come with upgrade guarantees and support, making them an excellent investment for those looking to make money by adding embroidery to their business and ideal for offering embroidery services to clients.
ZSK machines come in various convenient, compact, and fast options. Regardless of the size you require, they are a cost-effective investment. These machines can assist you in reaching your goals while providing a high return on investment.
Cost-Effectiveness and ROI
ZSK machines are affordable and offer a variety of functions. These functions can help you get a good return on your investment in different scenarios.
For instance, the highly functional ZSK Sprint 6 Compact embroidery machine requires little space to set up and is far less costly to run over time. This makes it ideal for hobbyists, startups, and small-scale sellers within the industry.
The Racer series is excellent for big businesses looking to increase profits. It can quickly create a lot of embroidery, handle large orders, and help increase profits.
This means that ZSK machines can offer cost-effectiveness to help you achieve your goals without breaking the bank.
Investment Value

When determining the ROI for ZSK embroidery machines, it’s crucial to consider the machine’s long-term worth. These machines are made with German engineering to last many years and work efficiently. These machines are built with German engineering to ensure durability and efficiency for many years.
Your ZSK embroidery machine will receive updates for a minimum of 10 years. This ensures that you will always have access to the latest technology. This will help you achieve faster results and produce top-quality work.
Purchasing a ZSK embroidery machine is a wise investment. It holds its value well over time and can provide a good opportunity for further investment.
Now is the ideal time to utilize technology to create stunning designs for yourself, clients, and customers. This will help drive profitability without the worry of machinery issues in the future.
ZSK embroidery machines are different from regular ones because they have more support and can increase efficiency as needed. ZSK is a top choice for embroiderers looking to grow their business and attract more customers. They are known for helping ambitious embroiderers expand their operations.
ZSK Embroidery Comparative Analysis
Each ZSK embroidery model is unique, offering various functions that provide numerous benefits to users for different purposes.
ZSK offers various models for starting an embroidery business or creating fun designs. These models can help you achieve your goals and enjoy bringing your ideas to life. Whether you want to start a business or have a creative hobby, ZSK has the right equipment. Taking this into account, let’s compare the wide variety of ZSK embroidery models available today:
Differences Between SPRINT Models and Racer Series
Let’s explore the critical differences between ZSK embroidery machines and their various models. Each machine caters to different needs and budgets. Let’s explore the main features and prices of ZSK’s SPRINT Models and Racer Series machines in more detail.
ZSK SPRINT 6
The ZSK SPRINT 6 is a single-head, 12-needle embroidery machine well-equipped to assist smaller businesses or hobbyists. It can perform detailed work such as border frames and caps and has vital functions to support diverse use cases. the SPRINT 6 offers the perfect entry point for newcomers to the industry.
- Needles: 12
- Embroidery Field: Maximum 460 mm x 310 mm
- Features:
- Slim tubular arm for easy access to small and narrow areas
- Compatible with a wide array of options and accessories, such as cap frames, shoe frames, and magnetic frames
- Quiet operation, making it suitable for small businesses and home environments
- User-friendly with intuitive controls
- Ideal for: Beginners, small businesses, and personalized embroidery orders.
ZSK SPRINT 7
For more advanced features, the ZSK SPRINT 7 offers 18 needles and support for larger embroidery fields, making the machine perfect for more complex and high-volume embroidery tasks.
Prices for the SPRINT 7 typically range between $12,000 and $16,000, which can be perfect for small businesses and hobbyists seeking to take on larger-scale embroidery challenges.
- Needles: 18
- Embroidery Field: Similar to SPRINT 6 but with additional options for larger fields in the SPRINT 7L and 7XL models
- Features:
- Increased efficiency with a servo drive system and longer stitch lengths
- Quick-change system for easy switching between different frames and devices
- Enhanced versatility with more complex embroidery capabilities
- Suitable for both small and large companies, with quick conversion between tubular, cap, and border frame modes
- Improvements Over SPRINT 6: More needles, servo drive for better performance, and enhanced versatility for complex designs.
ZSK SPRINT 8
The new SPRINT 8 by ZSK has 18 needles and advanced features for efficiency. These features include quick charging, better thread tension, and the ability to create detailed 3D embroidery. The machine’s new professional features are perfect for professionals and large-scale operations that want to offer high-quality service to clients.
- Needles: 18
- Embroidery Field: Same as previous models but with further enhancements
- Features:
- Improved thread tension for smoother thread passage
- Quick color change system to save time and optimize workflow
- Reduced noise level for quieter operation
- Reinforced steel frame, longer take-up lever, and extra-strong springs for increased durability
- T8 control center with intuitive interface, large memory capacity (approx. 80 million stitches), and advanced connectivity options
- Safety features like a light barrier for increased operator safety
- Improvements Over SPRINT 7: Enhanced durability, reduced noise, better thread tension, and faster color changes
The SPRINT 8’s high-tech features come at a relatively small price jump for users, priced at around $18,000.
Check Out the ZSK SPRINT – Model Comparison
Discover which ZSK SPRINT model is perfect for your embroidery needs! For flexibility, opt for the SPRINT 6. For efficiency, go with the SPRINT 7. And for advanced features, pick the SPRINT 8. We have options for everyone.
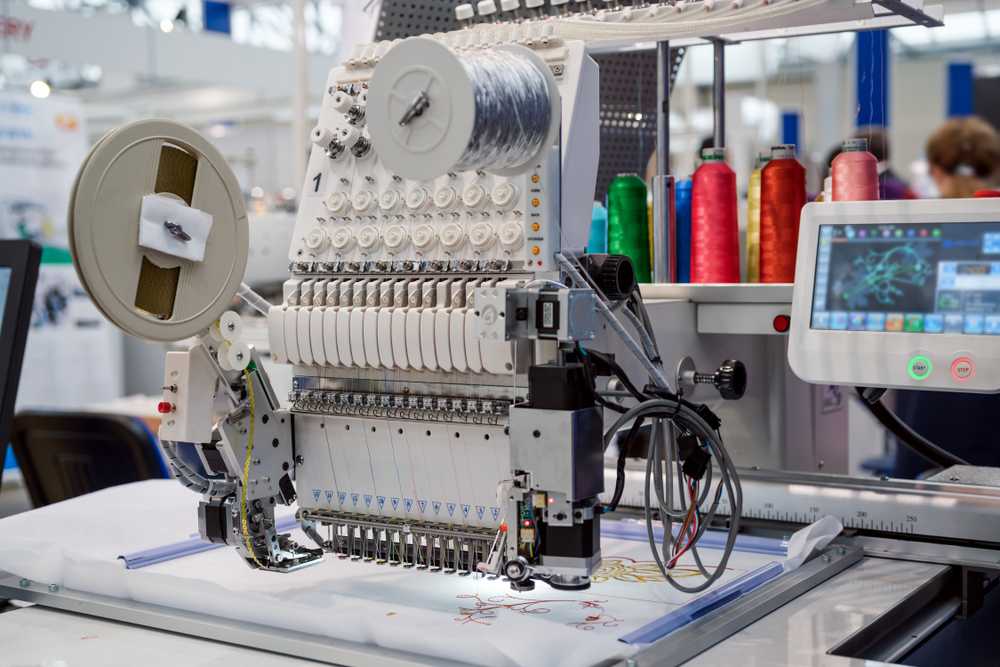
ZSK Racer Series
The ZSK Racer Series has advanced features. The series includes multi-head machines with options for two, four, six, or eight heads. This variety allows for increased productivity. The Racer Series is outstanding for businesses that need a lot of embroidery or have many customers.
The ZSK Racer Series can handle any challenge. Users can customize these machines to meet their needs, including determining the number of heads required.
- Needles: 12 per head, available in multiple head configurations (1, 2, 4, 6, 8, and 12 heads)
- Embroidery Field: Configurations with head spacing of 400 mm or 495 mm and embroidery field depth of 500 mm or 700 mm
- Features:
- Designed for high-volume production with multiple heads
- Offers a wide range of applications including flat embroidery, cap embroidery, and more
- Supports various accessories such as sequin devices, cording devices, and magnetic frames
- High-speed operation (up to 1,200 stitches per minute) and robust construction for 24/7 production
- Ideal for: large-scale businesses requiring efficient, high-capacity embroidery solutions
Businesses can customize the Racer Series machines for between $25,000 and $100,000. Could you contact ZSK directly to arrange customization?
Next-Generation Embroidery Machines
The embroidery market is growing fast. Embroiderers must upgrade their machines to keep up with industry changes and advancements. This will help them stay competitive in the market. Upgrading machines is necessary to meet the demands of the growing market.
ZSK embroidery machines provide various support, updates, and customization options to meet multiple needs. Using these machines, users can bring their ideas to life with high precision and efficiency.
Use an excellent machine to grow your embroidery business and be prepared for the future.
Conclusion
ZSK embroidery machines are popular among professional and hobbyist embroiderers. They are renowned for their efficiency, flexibility, and durability. ZSK offers machines for various needs and budgets, making them ideal for starting or growing an embroidery business.
German engineering crafts each machine, from small Sprint models to efficient Racer series, with precision. This ensures lasting performance and reliability. ZSK is committed to being environmentally friendly and offering excellent customer support. This dedication enhances the value and sustainability of their machines.
Buying a ZSK embroidery machine gives you top technology and helps you thrive in the changing industry.


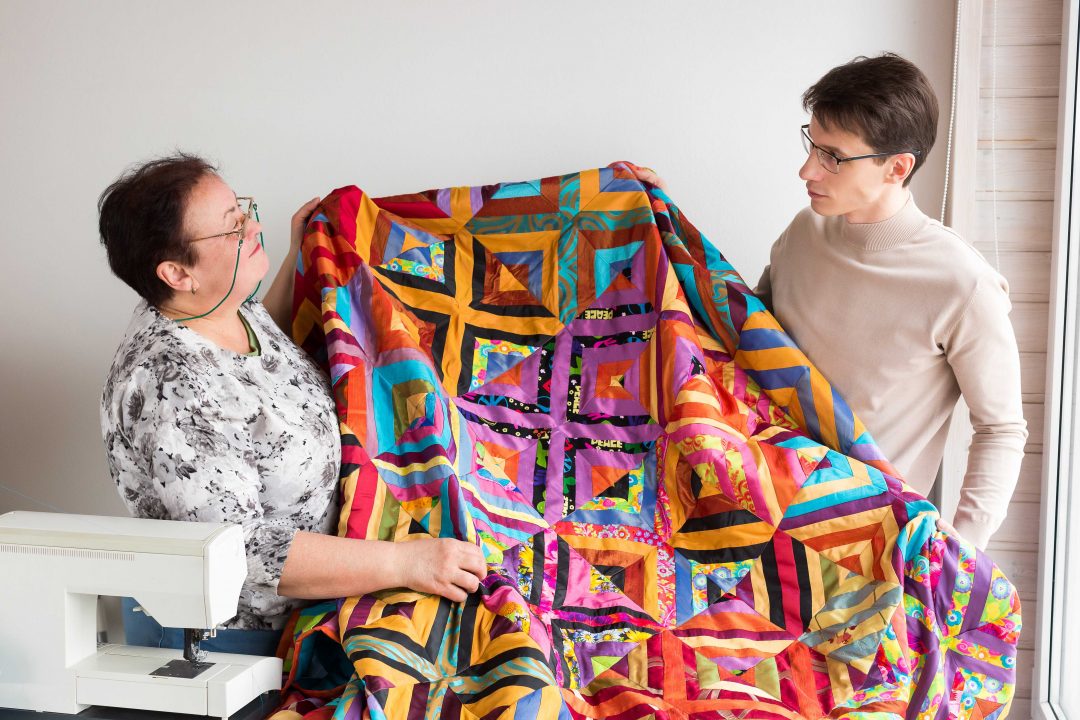
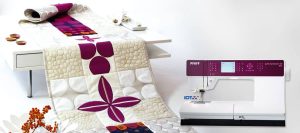
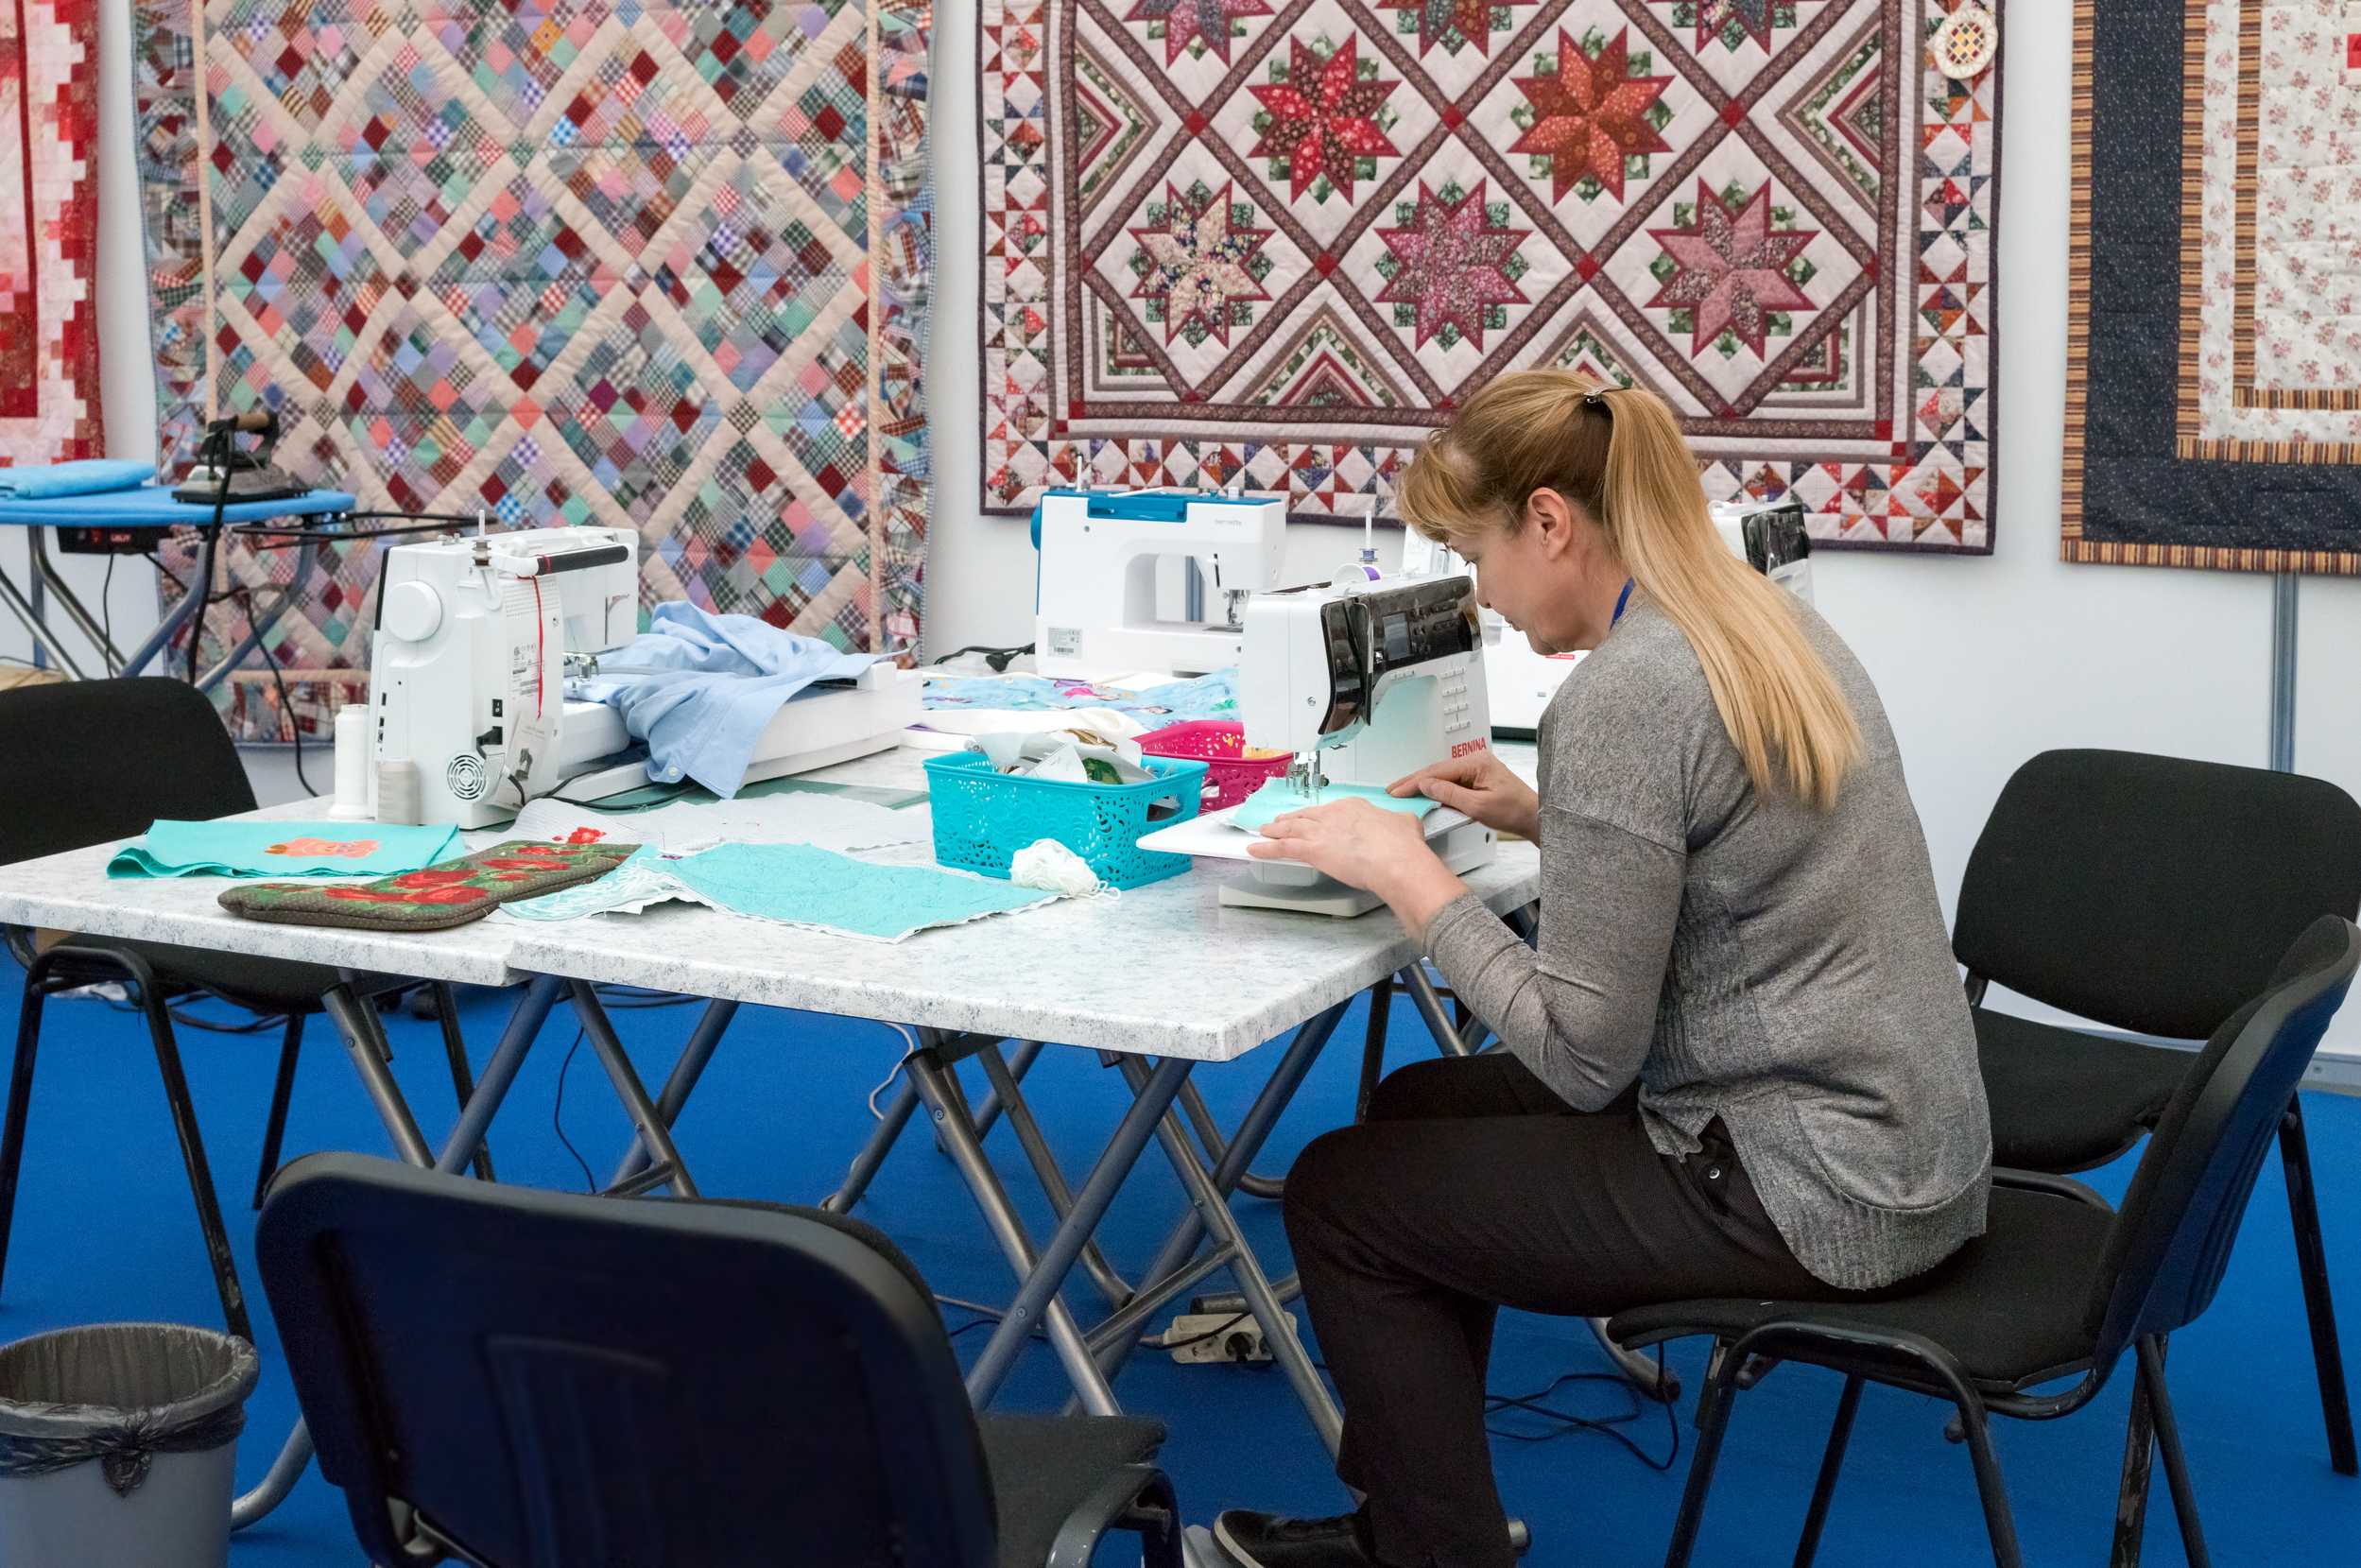 More advanced quilters will likely want to consider computerized quilting. This will expand the machine’s features, as there are many built-in stitch programs, and some even have a memory function, allowing you to save your favorite stitch patterns to use again later.